Create Storage Gateway
Create Storage Gateway
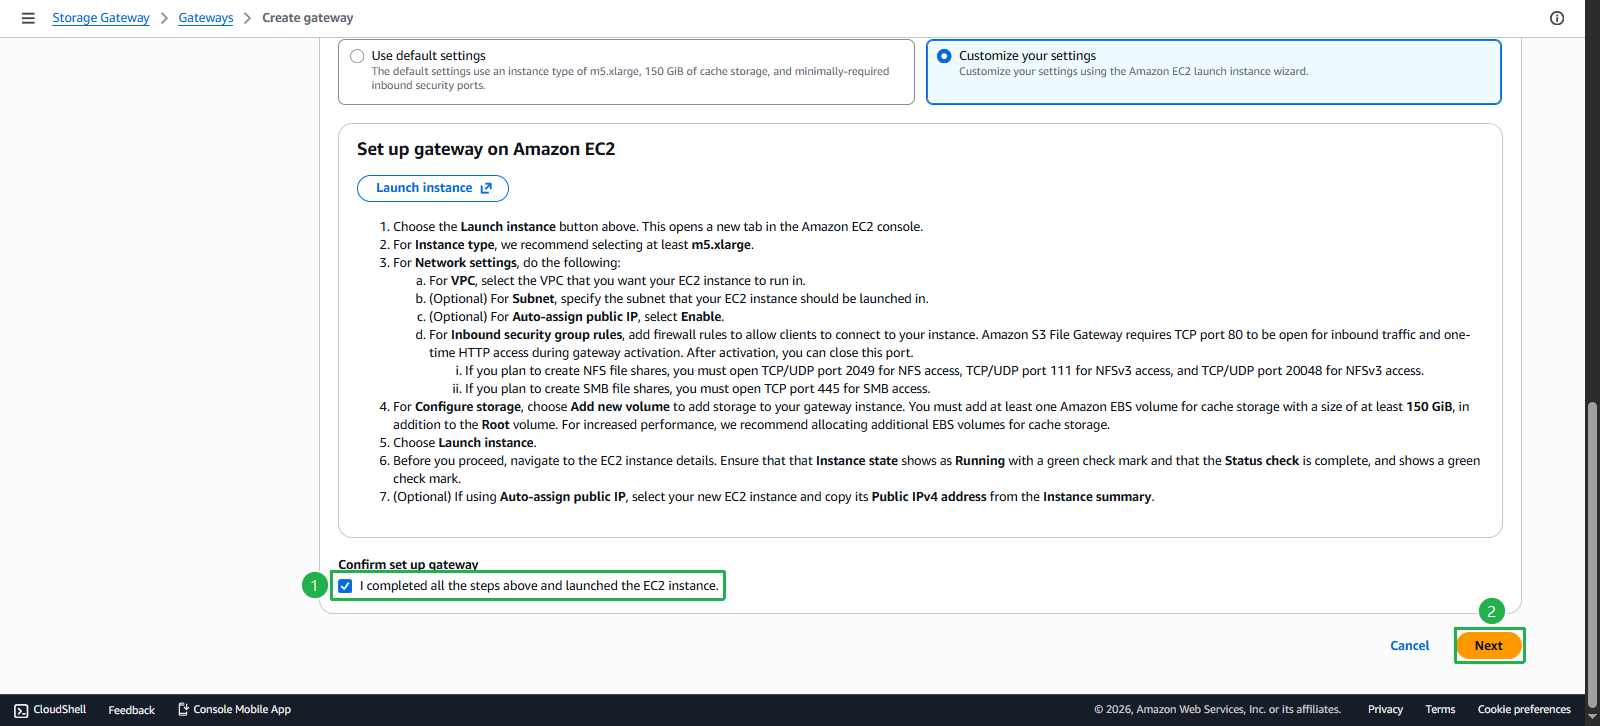
After successfully creating the EC2 instance, we will proceed to select I completed all the steps above and launched the EC2 instance. Then select Next
In the Gateway settings section.
- In the Gateway name field, enter the
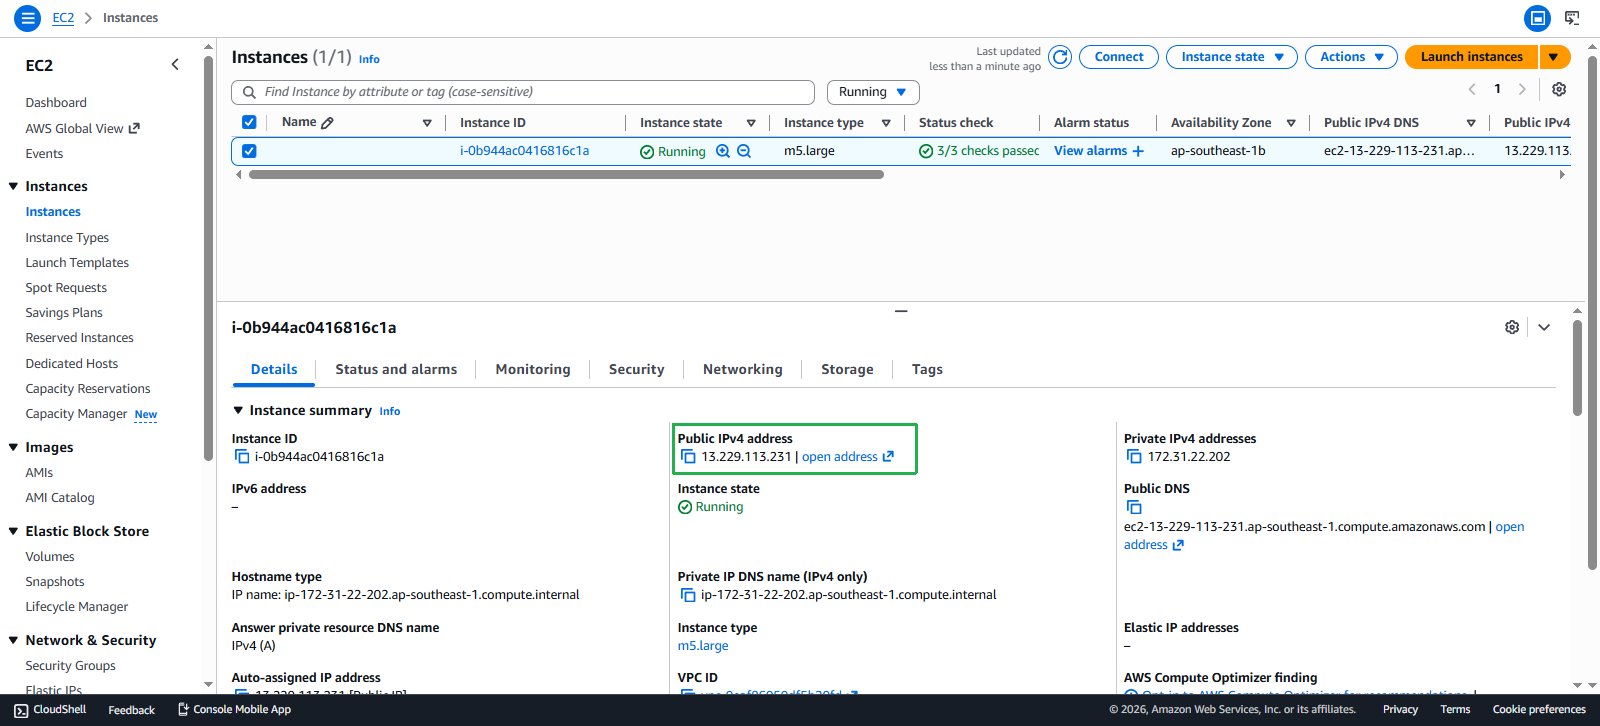
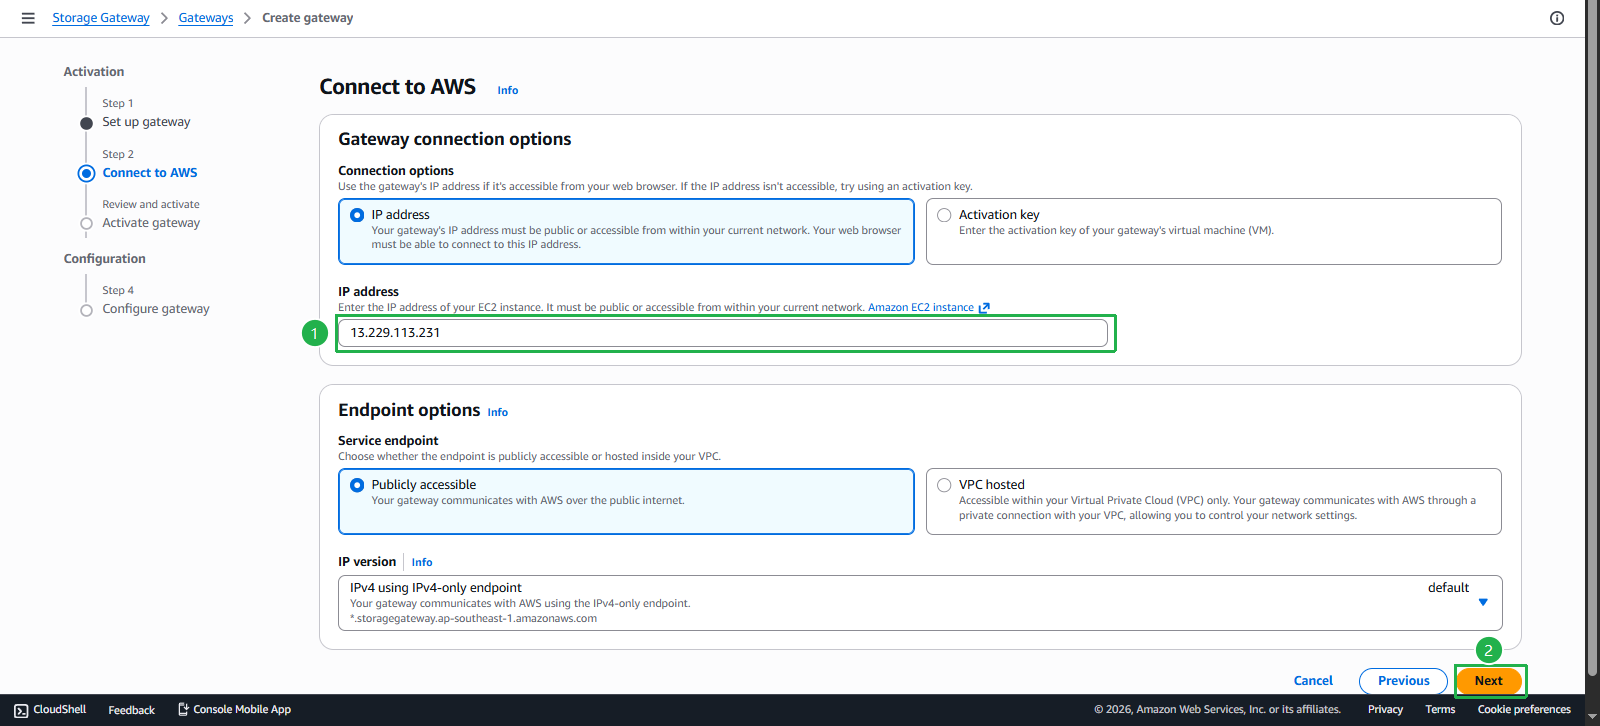
Public IPv4(Public IP of the Instance we created at the end of section 1.2).
- Click Next.
- In the Gateway name field, enter the
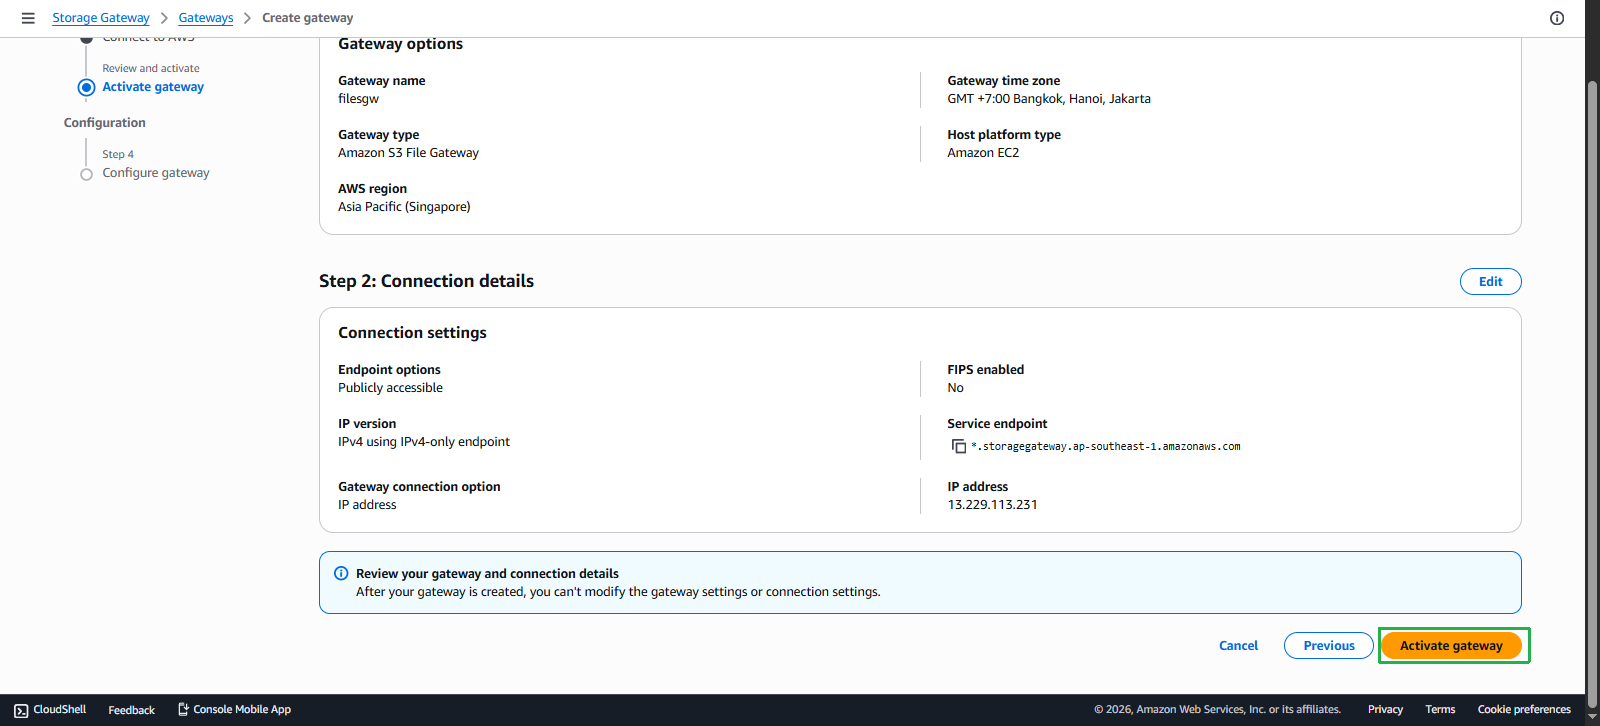
On the Active gateway page, Click Active gateway.
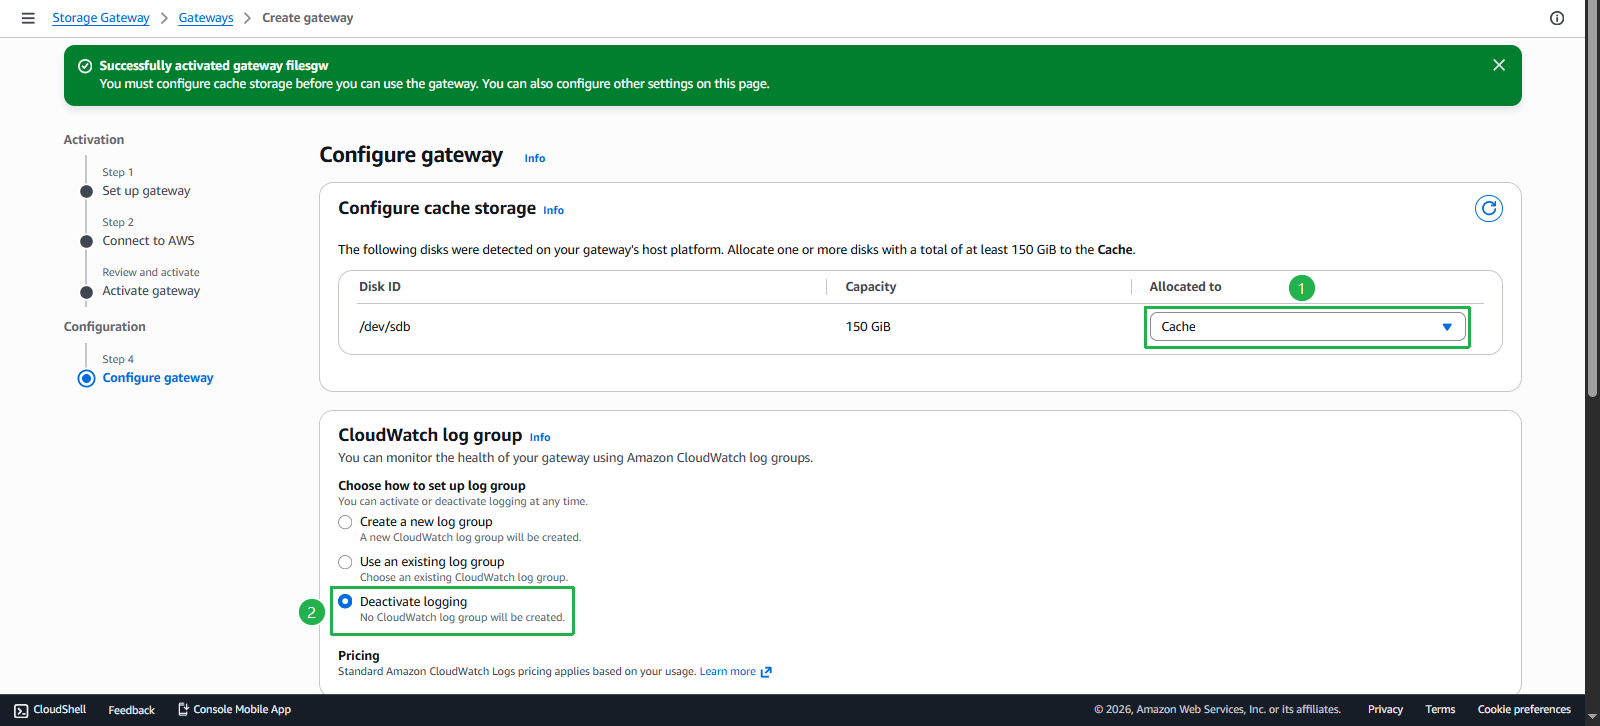
In the Configure cache storage section, for Allocated to, Select Cache.
Note: The Configure cache storage section may take a few minutes to load.
- In the CloudWatch log group section, Select Deactivate logging.
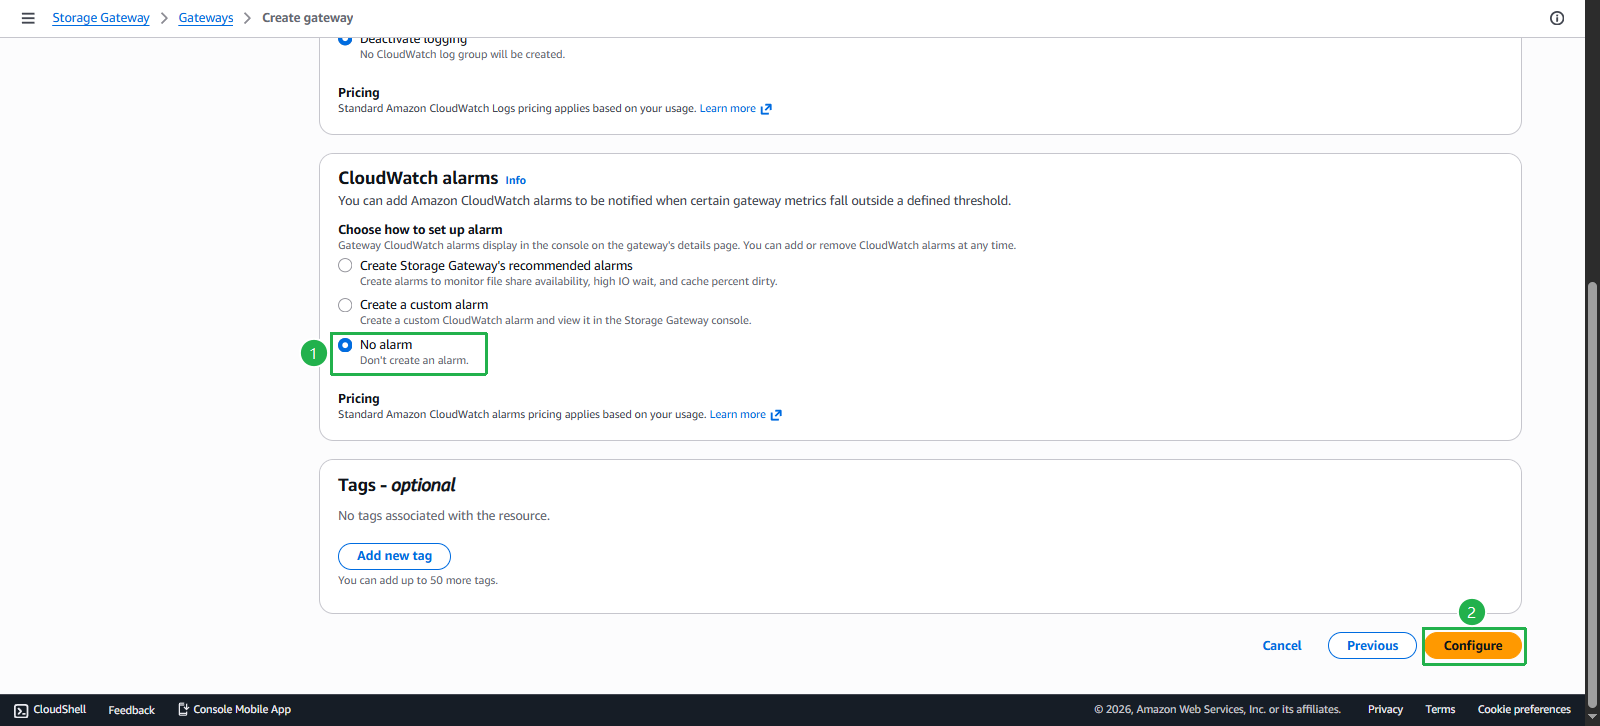
In the CloudWatch alarms section.
Click No alarm.
Then select Configure.
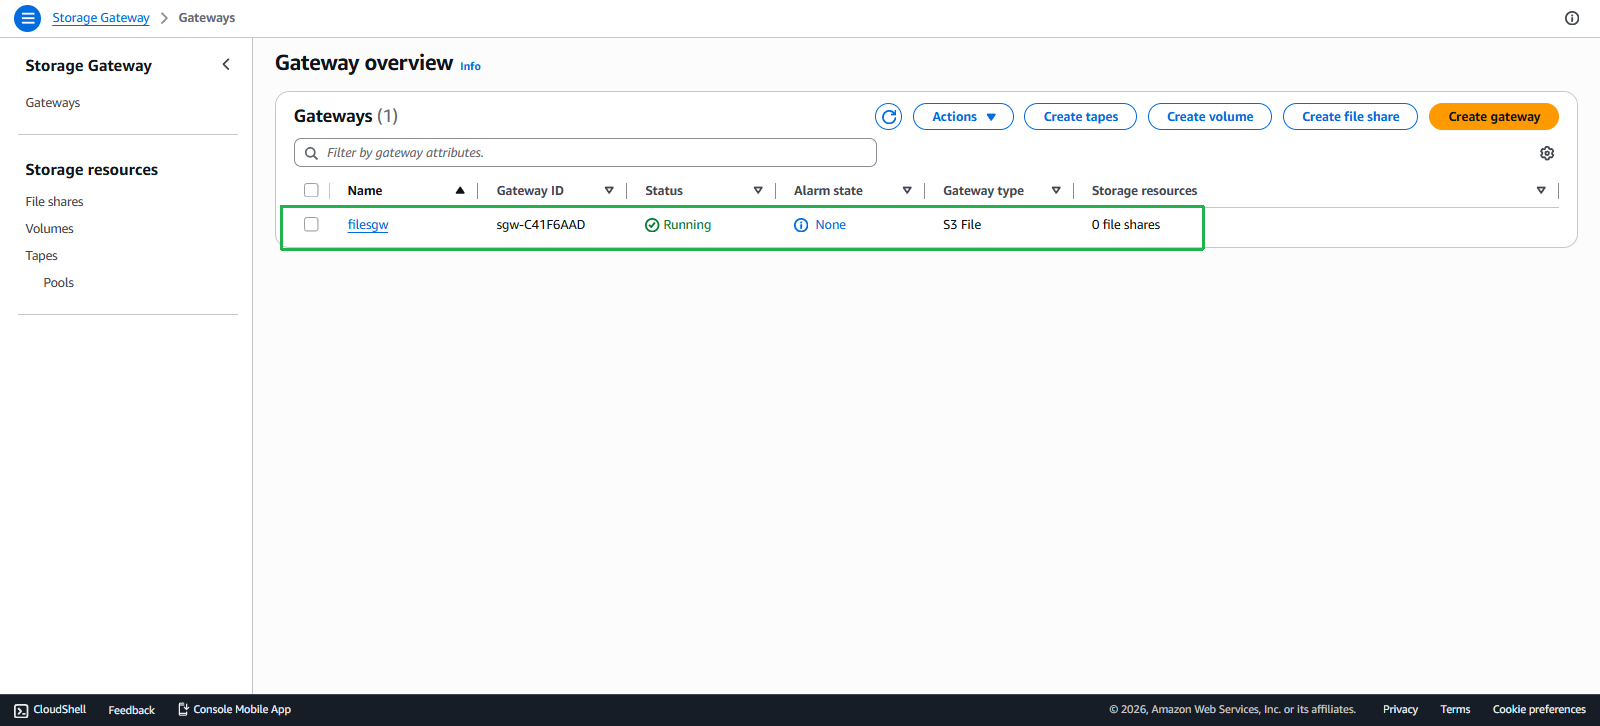
- Complete the Gateway creation.
Configure SMB settings
When you use SMB File Share for Windows machines, you will need to configure authentication for SMB:
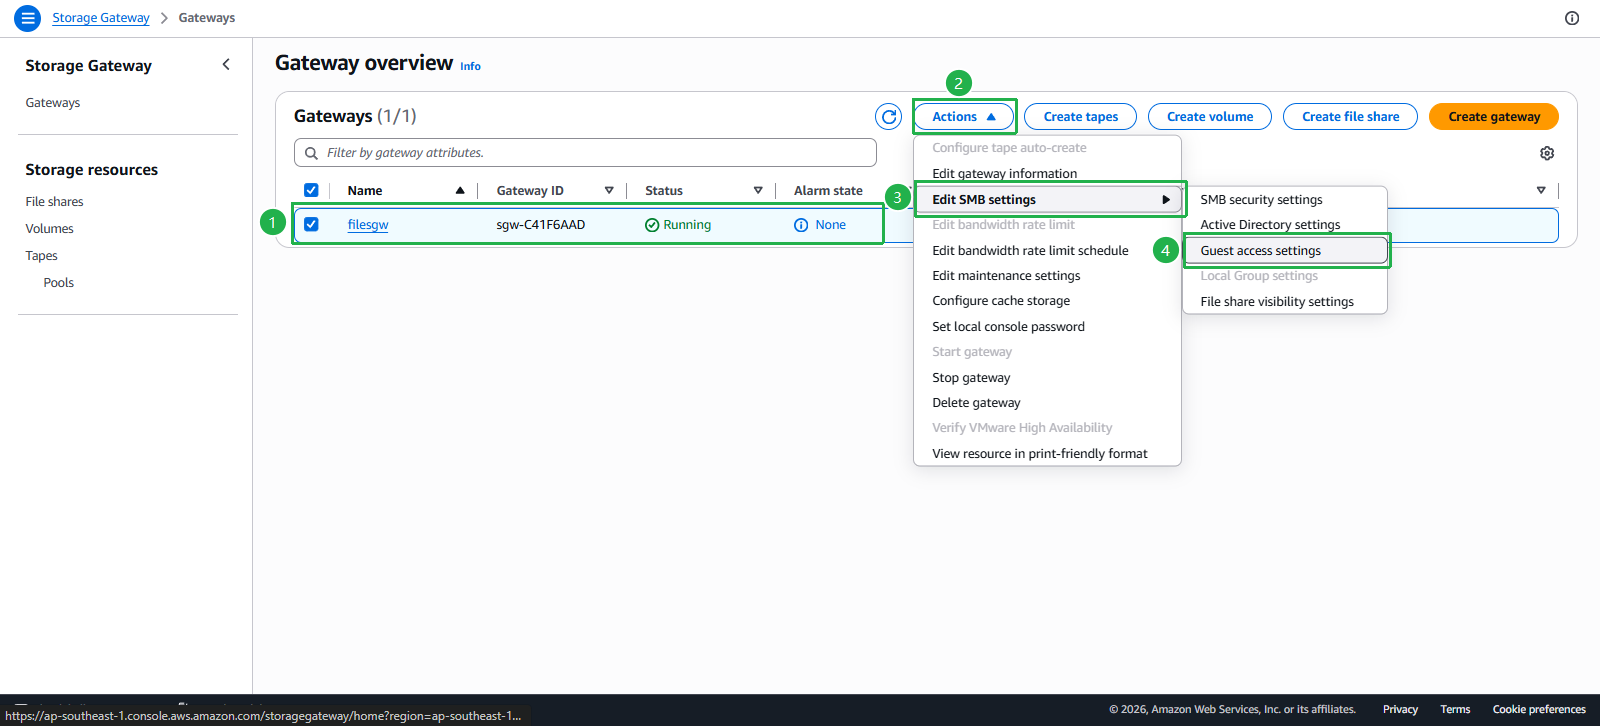
Access the Storage Gateway service management console.
Click Gateways.
Select the Gateway we created earlier.
Click Actions.
Click Edit SMB settings.
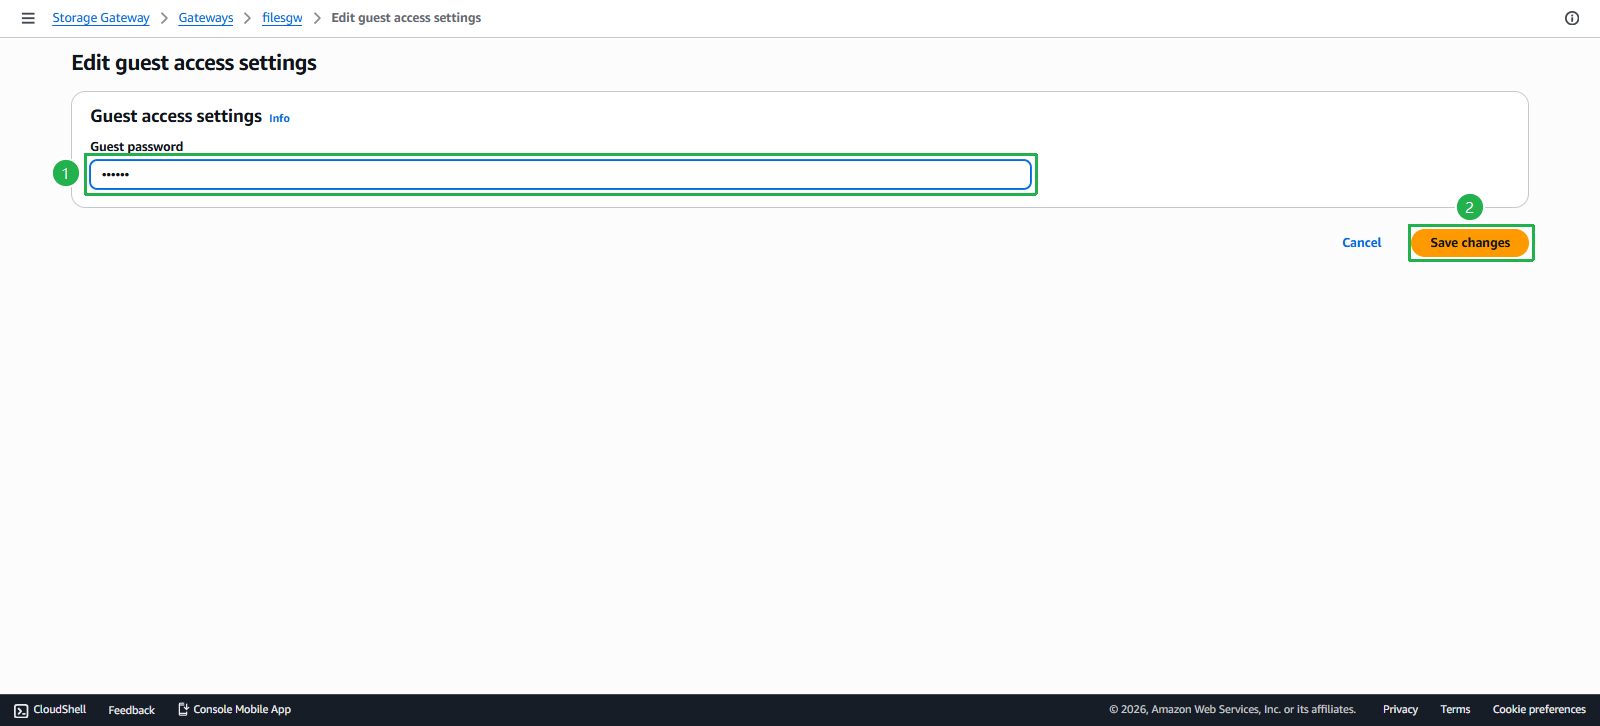
Click Guest access settings.
In the Guest password field, enter the password you want and remember it for use.
- Click Save changes.